
Gas Safety and Planning
What Happens During a Residential Gas Line Installation?
A gas-line installation starts with what you want to connect. Your contractor checks the gas supply, plans the route and explains the work before installing and testing the line.
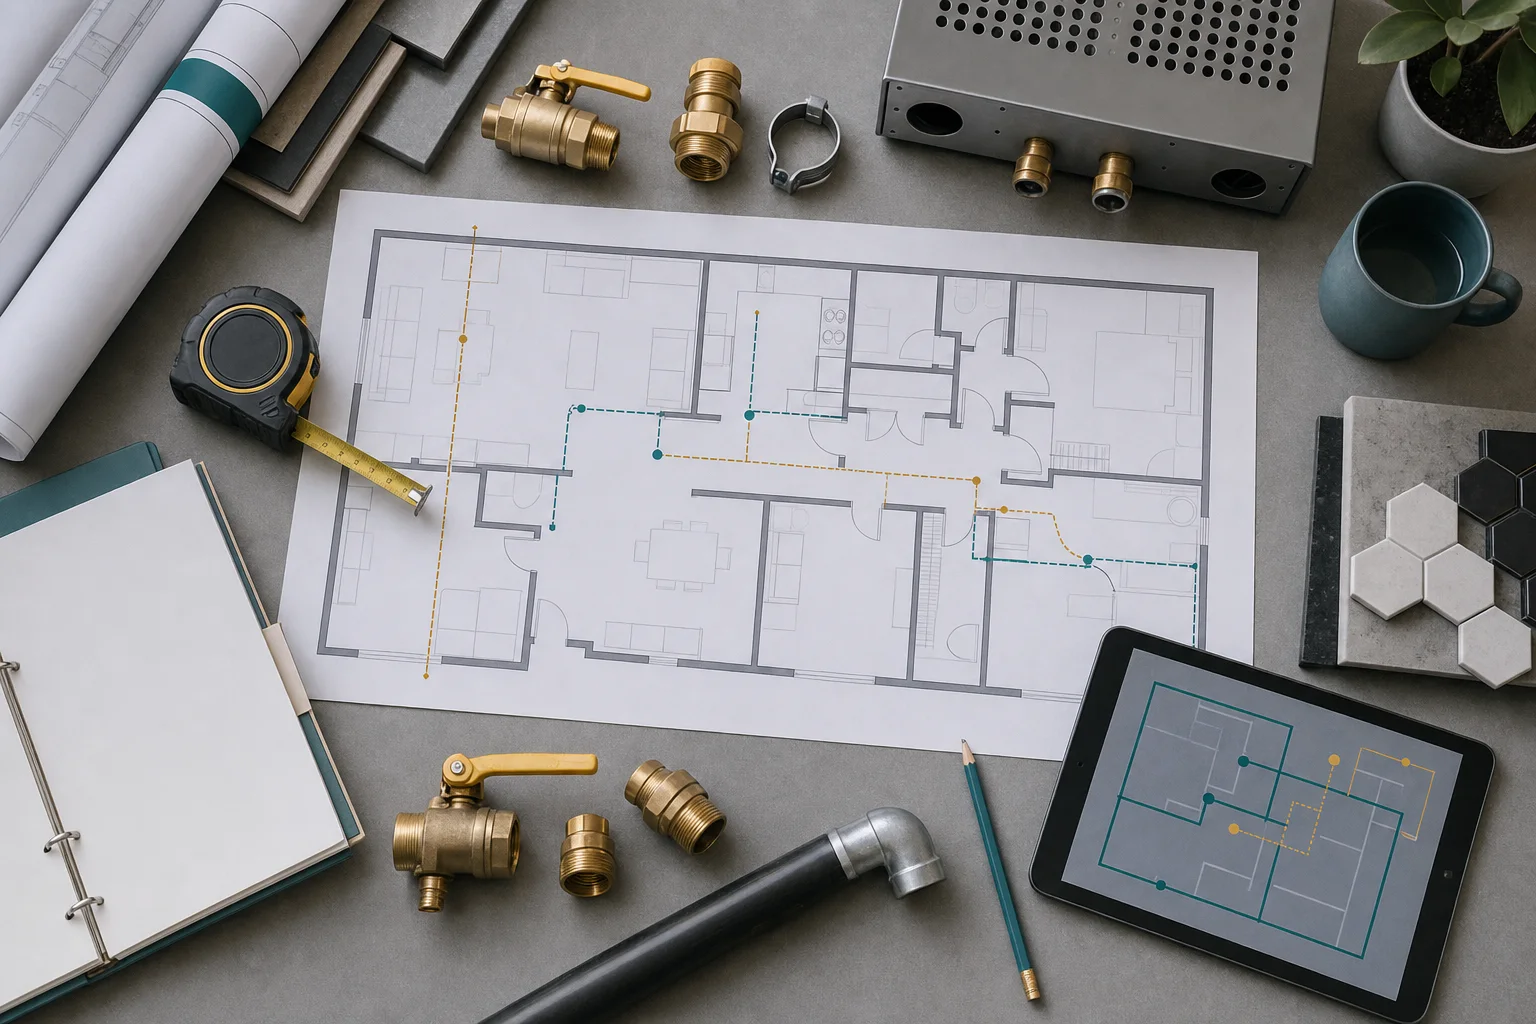
Before you plan
Start with the appliance and site details
Your contractor checks the appliance and fuel, whether the gas supply can support it and where the line can run. They plan any digging or building work, install and protect the line, and complete the required tests before it is covered. After connecting and checking the appliance, they show you how to use it and provide the job records. Share the appliance details and plans for your home; leave pipe sizing and installation to the contractor.
Step
Stage 1: List the appliances you want to connect
The process starts with the appliance schedule: make, model, fuel and rated input for the new load, plus all existing and planned gas appliances. The contractor also needs the intended location, use, timing and related renovation. Share the appliance details along with its planned location, so the contractor can work out what the line needs to supply.
If equipment is not selected, the assessment can identify constraints and a reasonable planning range, but the route and connection remain provisional. Conversion between natural gas and propane is allowed only when the exact appliance documentation and approved kit permit it.
- Exact appliance and approved fuel.
- Existing and future connected loads.
- Target location and construction plan.
- Current manuals and connection details.
Step
Stage 2: Check the gas supply
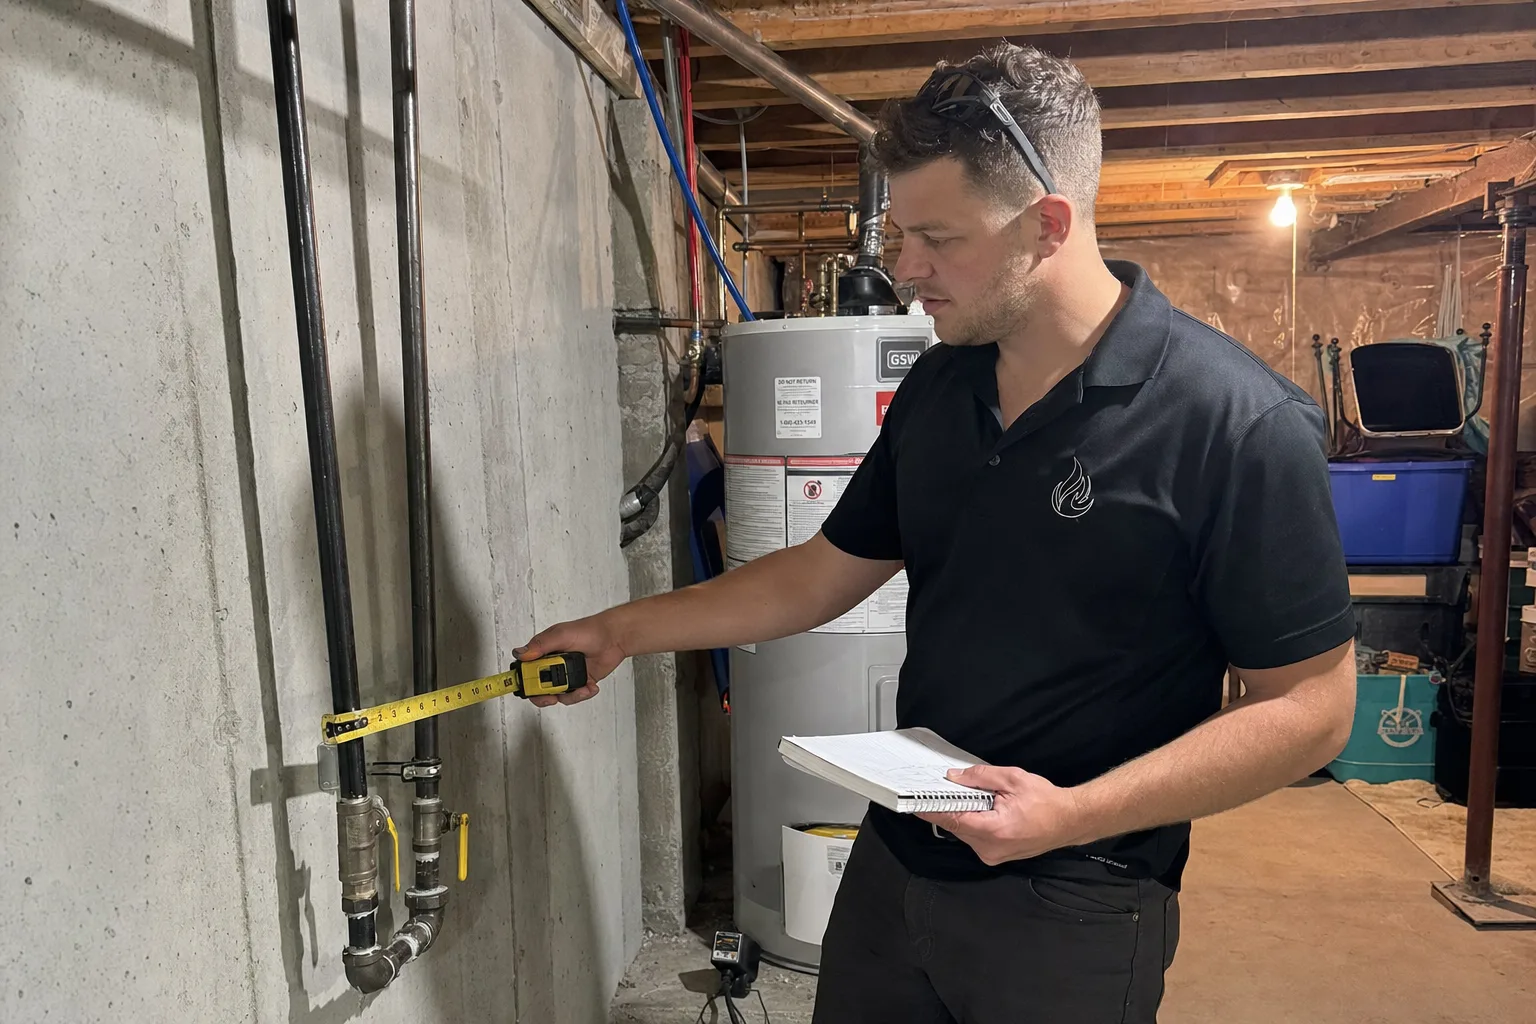
For natural gas, the review can include meter context, pressure, existing line arrangement and total connected demand. For propane, tank and regulator information and supplier coordination matter. The contractor determines whether the existing system can support the added appliance or needs changes.
A visible nearby pipe, capped tee or old connector does not prove capacity or condition. Existing work may need identification and testing before reuse. Any work needed from the gas utility or propane supplier should be included in the plan before finishing work begins.
Step
Stage 3: Plan the route and timing
The route considers approved materials, length, changes in direction, accessibility, protection, building penetrations, shutoff location, grade and physical hazards. Outdoor work may interact with excavation, drainage, footings, decks, driveways and landscaping. Indoor work may cross finished ceilings, cabinetry or utility rooms.
The contractor and other trades should agree on route and sequence before demolition or trenching. Ontario One Call covers participating buried infrastructure, while private owner-installed lines may require separate locating. Marking public utilities does not design the gas route.
- Public and private utility locates.
- Access, protection and shutoff placement.
- Penetrations, sleeves and finish coordination.
- Future service and renovation risks.
Step
Stage 4: Install the line and leave it accessible
Qualified personnel install supports, piping, protection and accessible controls using applicable requirements and the project design. The work must remain available for required pressure testing, inspection or documentation before walls, cabinets, concrete or landscape finishes cover it.
Other trades should avoid the route and protect exposed work from impact. If something unexpected is found, the contractor should explain the change in route or work before going ahead. Photographs before concealment can support future records.
What to include with your request
What would you like to install, fix or improve?
Tell us what you need and where the job is. Add the appliance model, fuel type and a photo if you have them.
Step
Stage 5: Test the line and start up the appliance
Testing verifies the installed piping using professional equipment and procedures. Final appliance connection then follows the exact manufacturer manual. Startup checks confirm how the appliance runs and that it meets the required conditions, not just whether a flame appears.
The project may also need electrical, ventilation, pool-water or control work completed by the appropriate trade. The quote should explain what else needs to be ready. A safe final state includes accessible shutoffs, correct appliance setup and no unresolved construction conflict.
- Professional piping test.
- Model-specific final connection.
- Operating and safety-control verification.
- Coordination with other qualified trades.
Step
Stage 6: Get to know your new connection
Your contractor should show you the controls and shutoff, explain normal operation and care, and go over what to do in an emergency. Keep the quote, approved changes, invoice, appliance model and serial number, manuals, photos and any test or inspection records provided.
These records matter when another appliance is added or the property is renovated. Future work must reassess capacity rather than assume the line has spare room. A well-documented route also reduces the risk of concealed piping being damaged by later drilling or excavation.
Step
What can change the work or cost
Finished walls can hide unexpected routing conflicts, undocumented piping or structural obstacles. Outdoor work can encounter private utilities, rock, drainage or a different final grade. Equipment availability can also change the connection location or input. Your contractor should explain anything unexpected, the options for fixing it and any change in price or timing.
Ask the contractor which assumptions the quote depends on and how discoveries will be communicated. Keep appliance purchases, cabinetry and finish schedules coordinated with those decision points. A clear change process protects both the technical installation and the household budget because the reason, alternative and effect on timing are visible before work continues.
Questions we hear
Frequently asked questions
It depends on route, capacity changes, excavation, equipment, inspections and trade coordination. Ask for timing based on the work your home needs.
Only after the contractor confirms all required testing, inspection and documentation stages are complete. Do not conceal work merely to keep another trade moving.
Ontario One Call notifies participating infrastructure owners. Private lines on the property may require separate locating, which should be resolved before excavation.
Possibly, after its material, condition, route, capacity and compatibility are professionally assessed and any required testing is completed.
References
Sources and further reading
Ask about your project
Tell us about the property and equipment
Send the service address, timing, appliance model and safe photos that show the work area.