
Fireplace Guides
Planning a Propane Fireplace When Natural Gas Isn't Available
No natural gas at your home? A propane fireplace may be an option. Plan the tank, supply line, fireplace and renovation together.
Before you plan
Start with the appliance and site details
When natural gas is unavailable, start a propane fireplace project by confirming a compliant propane storage and regulator arrangement with the supplier, selecting an exact fireplace approved for propane, matching heat output to the room, assessing an approved vent route, and coordinating the line, electrical work, enclosure, finishes and commissioning. Do not buy a natural-gas fireplace and assume it can be converted later.
Step
Start with the propane supply
Contact the propane supplier about tank options, ownership or lease, delivery access, regulator arrangement and current or future loads. A fireplace may share supply with a range, pool heater, water heater or other approved appliance, so the complete schedule matters.
Tank location cannot be chosen for concealment alone. Clearances, access, grade and site features govern. Keep landscaping, fences and structures flexible until supplier and contractor requirements are reconciled.
- Supplier and tank arrangement.
- Regulator and delivery context.
- Current and planned appliance loads.
- Site access and clearance constraints.
Step
Select an appliance approved for propane
Use the propane version of a current Canadian fireplace model or a natural-gas model only when the exact manufacturer instructions permit conversion with an approved kit. Burner, orifice, valve and pressure arrangements differ. A marketplace claim that a unit is "convertible" is not enough.
Compare current manuals, heat range, fireplace efficiency, viewing size, ignition, controls, vent options, electrical needs, clearances, warranty and local service. Retain the model and serial information after installation.
Step
Match heat and design to the room
Define whether the fireplace is for ambience, supplemental heat or both. Review room size, ceiling, glazing, open connections and other heating, then compare low and high output. A wide, dramatic fireplace can overwhelm a compact room if it cannot turn down appropriately.
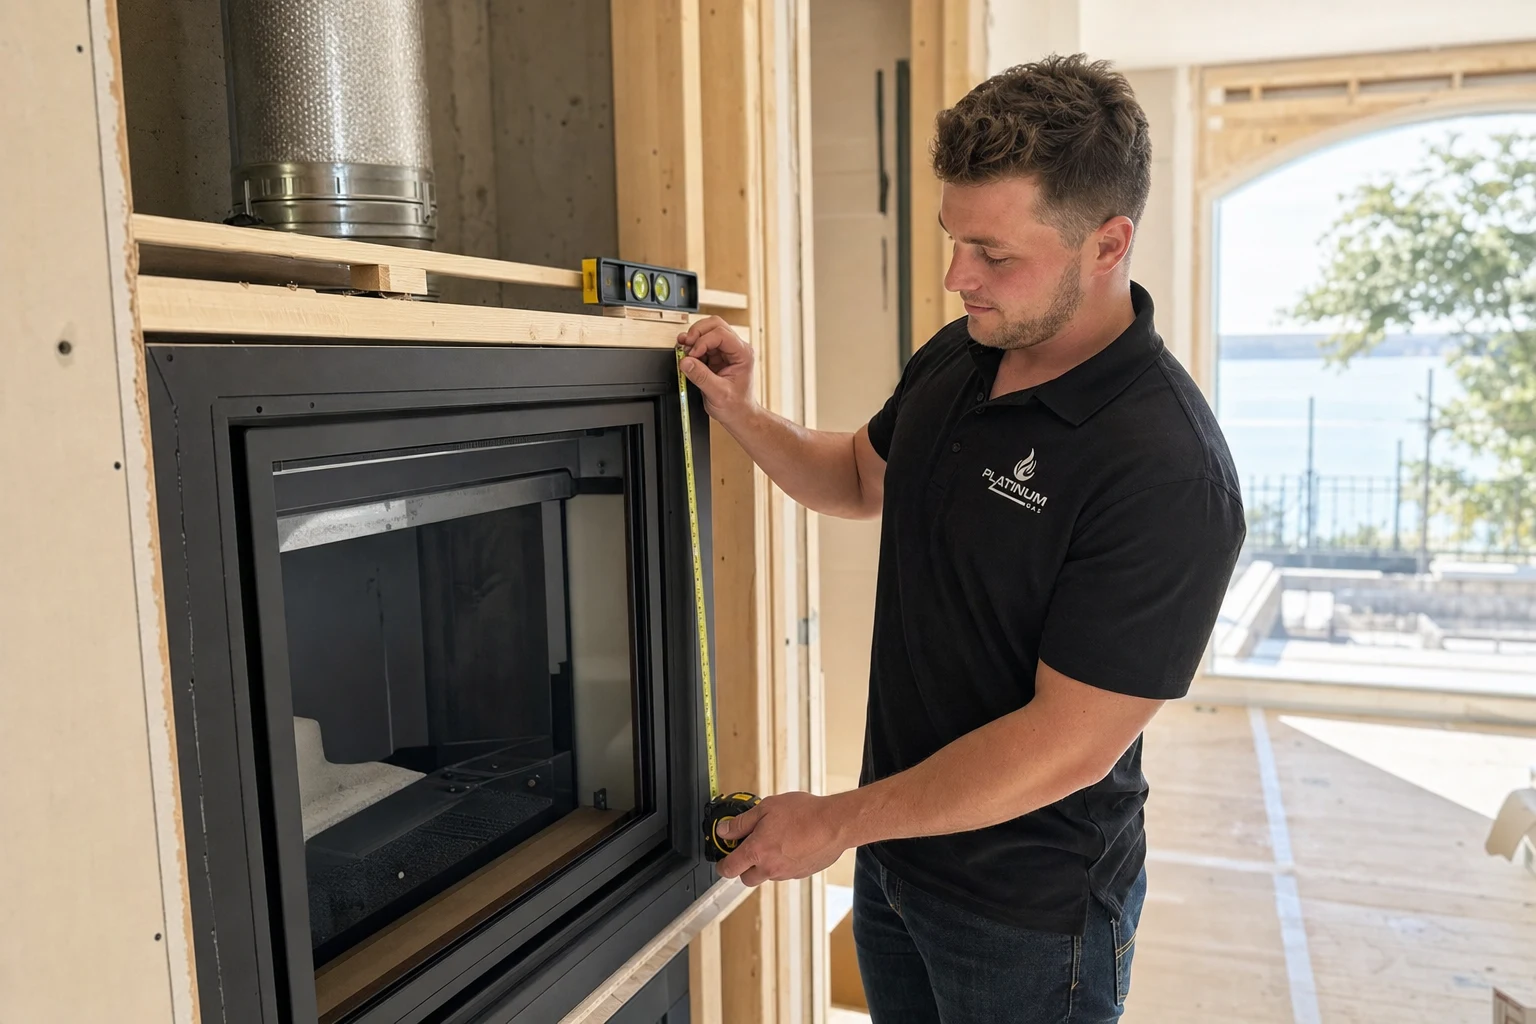
Sketch the wall with seating, mantel, television, finish and access. Check every dimension against the exact manual. Design freedom is greatest before the appliance and vent route are fixed, but technical requirements should lead the composition.
- Real use and comfort goal.
- Low and high output range.
- Viewing proportions and finish.
- Glass removal and service access.
Step
Resolve the vent route early
Direct-vent and other approved systems have model-specific components, length limits, elbows, rise and termination requirements. Windows, doors, decks, soffits, grade, snow and neighbouring structures can affect feasibility. Vent-free gas fireplaces are not approved for use in Canada.
Walk both the interior and exterior route before framing. A power-vent option, where offered, has its own electrical and control needs and is not permission for arbitrary routing. Final design follows the exact manual.
What to include with your request
What would you like to install, fix or improve?
Tell us what you need and where the job is. Add the appliance model, fuel type and a photo if you have them.
Step
Plan the gas line and finishing work together
The fuels contractor assesses demand, pressure context, approved route, protection and accessible shutoffs from the propane supply to the appliance. Other trades may handle electrical work, framing, non-combustible construction and finishes. Each needs the same current appliance documents.
Sequence piping and venting so required testing and review occur before concealment. Keep fasteners, cabinetry and stone away from service areas. Your quote should explain what the propane supplier, gas contractor and finishing contractors will each do.
- Fuel line and shutoff access.
- Approved vent and termination.
- Electrical and control locations.
- Framing, non-combustible and finish sequence.
Step
Check the fireplace and learn how to use it
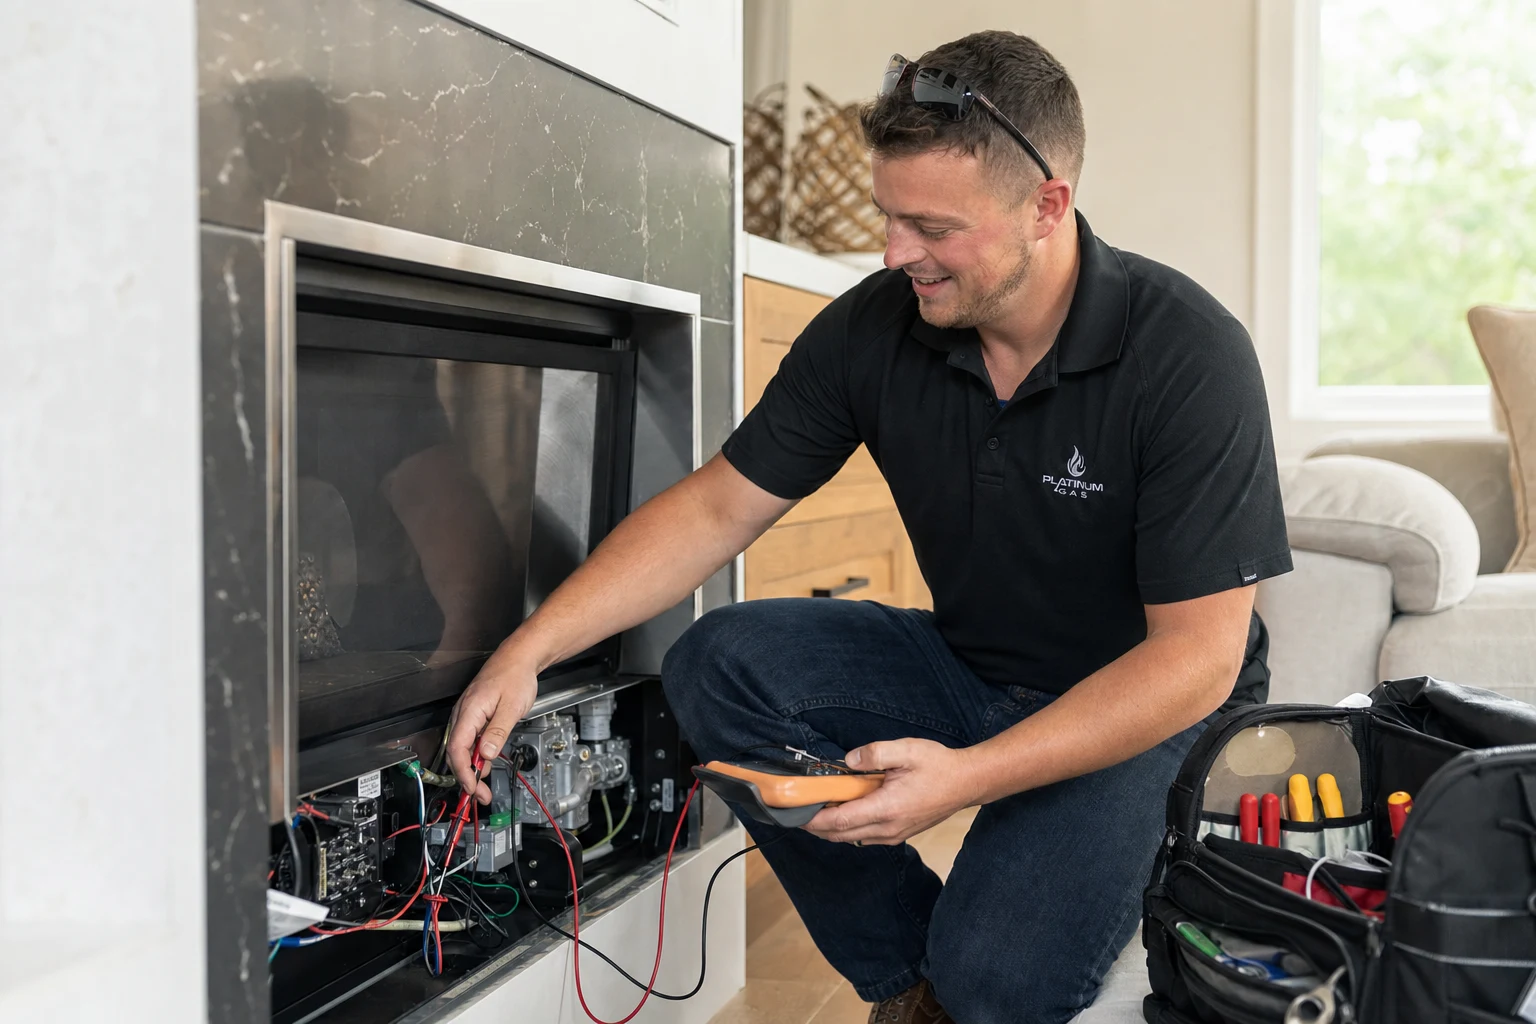
The final connection and startup checks follow the appliance manual and confirm it works with the gas supply. The walkthrough should cover the controls, normal flame, hot-glass protection, power outages, shutdown, emergencies and care you can do yourself.
Keep the propane supplier information, contractor invoice, appliance manual, model and serial, warranty, service records and any documentation supplied for testing or inspection. Reassess the full propane load before adding another appliance later.
Step
Compare fireplace options before you buy
A propane insert can reuse a suitable existing fireplace and chimney path, while a new built-in creates a purpose-designed enclosure. A freestanding gas stove offers another visual and placement pattern. Each has its own venting, clearances, heat distribution and construction needs; propane availability does not make the formats interchangeable.
Request at least one complete site-fit option rather than collecting unrelated appliance prices. Compare the supply work, vent route, heating range, finished dimensions, control package, related trades and service access. When two formats are feasible, the decision can then reflect how much of the existing room should be preserved and how much design freedom justifies additional construction.
Step
Send a few details to get started
Send wide interior and exterior photographs, room dimensions, the proposed wall, accessible utility areas and any existing fireplace or chimney. Include the propane supplier if one already serves the property, a list of other propane appliances, the intended heat and design goals, preferred project timing and any planned television or cabinetry.
Do not crop photos so tightly that doors, windows, soffits, grade or neighbouring features disappear. The information helps identify questions and model families, but it does not replace measured site review. Wait to order the fireplace and finishes until the contractor has checked the gas supply, venting and space needed for safe use and service.
Questions we hear
Frequently asked questions
Flame presentation depends mainly on the exact approved appliance, burner and media. Compare actual propane models rather than relying on a universal fuel-based appearance claim.
Location, clearances and delivery or service access must remain compliant. Coordinate landscaping only after the supplier and contractor confirm the arrangement.
No. Conversion is allowed only when the exact manufacturer instructions and approved kit permit it, completed by qualified personnel.
Plan them together with the complete appliance schedule. The supplier, contractor and fireplace selection must align on demand, pressure context and site constraints.
References
Sources and further reading
Ask about your project
Tell us about the property and equipment
Send the service address, timing, appliance model and safe photos that show the work area.