
Gas Safety and Planning
Propane Gas Line Planning: Tank, Regulator, Appliance and Route Coordination
A propane line needs to work with your tank, regulator and every appliance connected to it. Plan the whole setup before installation.
Before you plan
Start with the appliance and site details
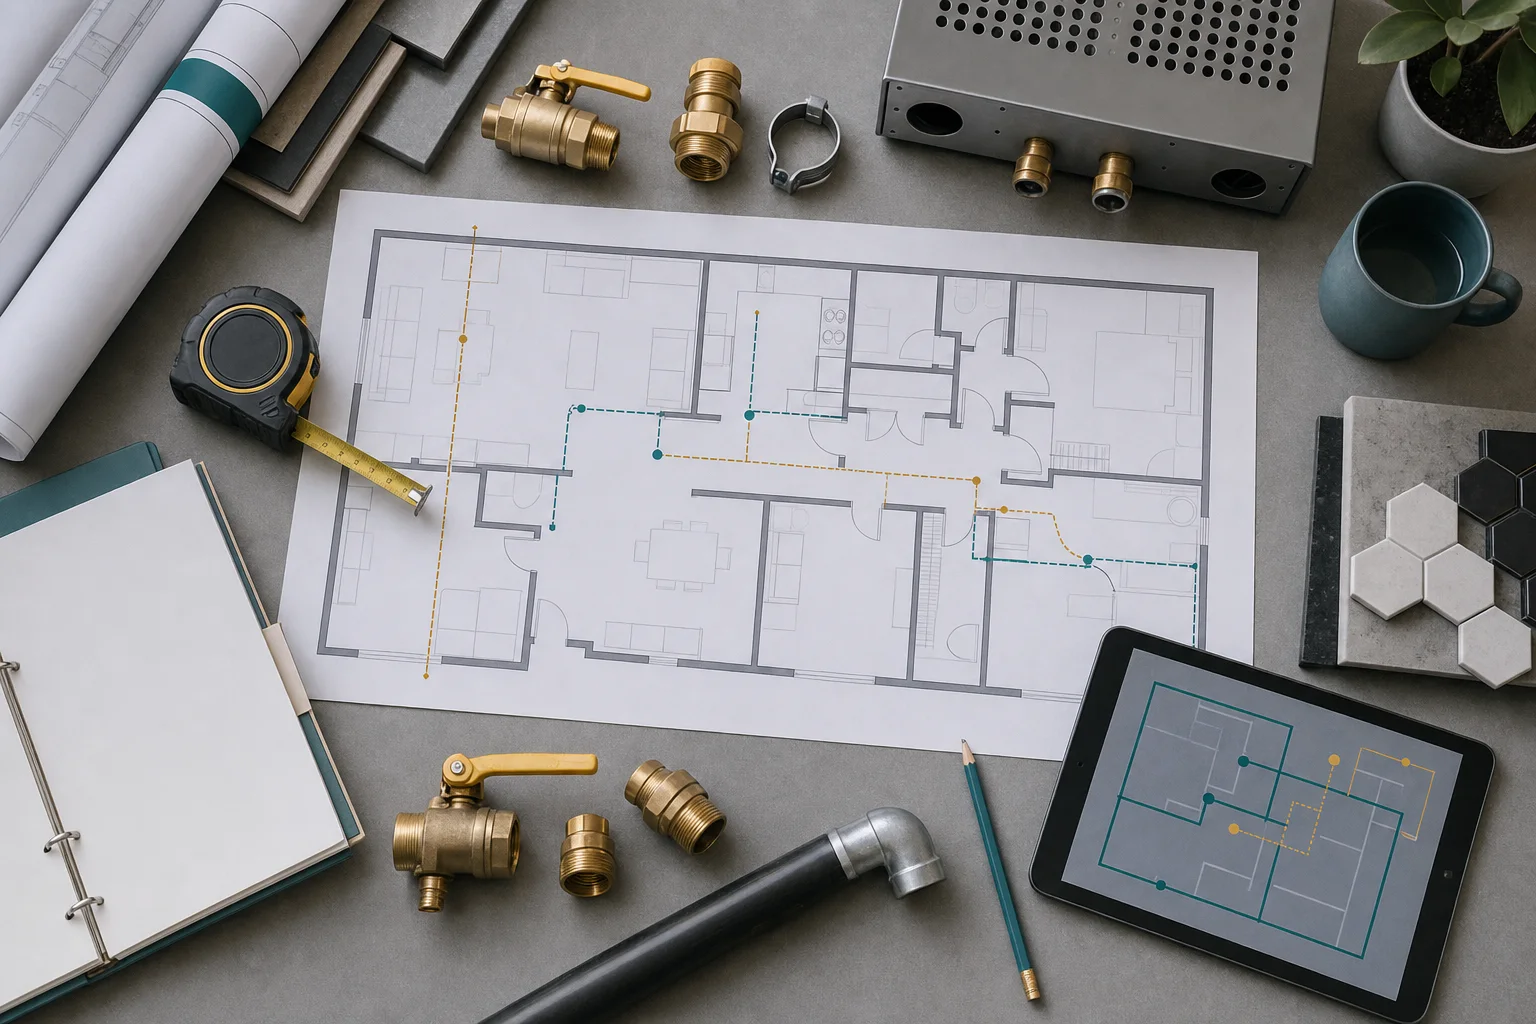
For a propane gas-line project, begin with the exact appliances and their inputs, then coordinate the propane supplier's tank and regulator arrangement with a TSSA-registered fuels contractor's assessment of demand, pressure context, line route, protection, shutoffs, testing and commissioning. Keep excavation, cabinets, decks and finishes flexible until the route is confirmed. A tank on the property or an existing capped line does not establish capacity for a new load.
Step
Step 1: List your current and planned appliances
List every current and proposed propane appliance with exact make, model, approved fuel and rated input from current documentation. Include fireplaces, ranges, pool heaters, water heaters, generators or outdoor appliances where applicable. Future loads should be defined rather than described as "extra capacity."
The schedule lets the contractor assess diversity and demand using applicable requirements. It also reveals whether an appliance is actually offered or convertible for propane. Do not purchase a natural-gas model on the expectation that a generic kit can change it.
- Exact Canadian models and fuel versions.
- Rated inputs and manufacturer requirements.
- Existing appliances sharing the supply.
- Defined future loads and project timing.
Step
Step 2: Plan with your propane supplier
The propane supplier manages storage and delivery arrangements, while the fuels contractor needs accurate information about the supply serving the building and appliances. Tank capacity, location, fill access, regulator stages and pressure context influence planning. Site changes around a tank can also create clearance or access concerns.
Share the supplier name, tank ownership or lease information, recent delivery history and known regulator details without making adjustments. Confirm who will review whether the existing supply arrangement supports the added load. Keep landscaping and enclosures away until supplier requirements are understood.
Step
Step 3: Choose a suitable line route
A route can pass through accessible building areas or underground only when designed and installed with approved materials, protection and clearances. Excavation, sleeves, wall penetrations, drainage, grade, vehicle areas and future construction all matter. Public and private buried utilities must be located before digging.
Walk the route with site plans showing decks, footings, pools, patios, retaining walls and cabinets. Preserve access for testing and shutoffs. The route should serve the appliance safely without becoming vulnerable to landscape tools, vehicles, frost movement or concealed fasteners.
- Ontario One Call and private-locate needs.
- Excavation, sleeve and penetration coordination.
- Physical protection and final grade.
- Accessible shutoffs and future service.
Step
Step 4: Check the appliance connection
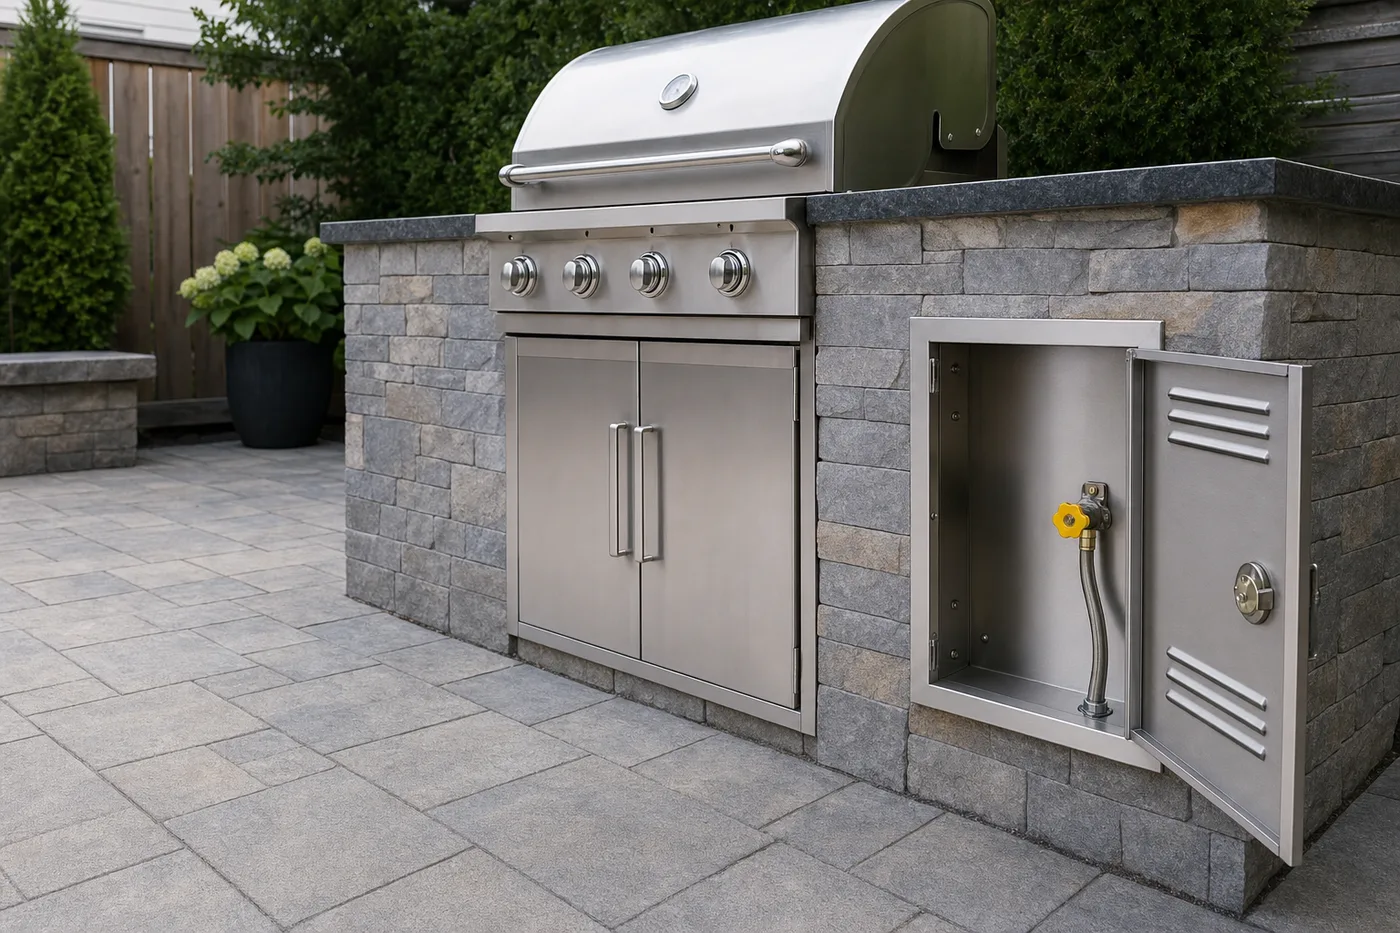
The manufacturer manual defines connection location, appliance regulator or valve context, connector limitations, clearances and enclosure requirements. Outdoor cabinets and indoor feature walls must preserve ventilation and service access. A line emerging in the wrong cabinet bay can require avoidable rework.
Give appliance documents to every relevant trade. Confirm who supplies final connectors, electrical work, supports and ventilation details. Do not conceal the route or close an enclosure until required testing and review are complete.
What to include with your request
What would you like to install, fix or improve?
Tell us what you need and where the job is. Add the appliance model, fuel type and a photo if you have them.
Step
Step 5: Plan the testing and startup
New or altered piping requires professional testing and documented completion according to applicable requirements. The appliance is then started and checked following its manufacturer instructions, including operating conditions and safety controls. Those steps are not replaced by seeing a flame.
Plan the order of the supplier's work, piping, construction, final connection and startup checks so each part is ready on time. A project that runs out of propane or changes regulator conditions may require additional supplier and technician procedures before appliances operate.
- Testing before concealment.
- Supplier coordination when supply changes.
- Model-specific appliance commissioning.
- Owner orientation and shutoff location.
Step
Step 6: Keep the details for future work
Keep the appliance schedule, manuals, contractor invoice, test or inspection records provided, tank and supplier information, photographs of routes before concealment and notes about shutoff locations. Future technicians should not have to infer a concealed system from one visible connection.
When another propane load is proposed, return to the full schedule rather than assuming unused capacity. Updating the records makes later assessment faster and reduces the chance that a renovation damages or obstructs the existing installation.
Step
Plan for deliveries and seasonal care
Propane supply is delivered, so households should know how usage patterns and weather affect delivery planning without attempting to manage regulators or restore an interrupted system. Keep supplier contact information current and preserve access to the tank, fill connection and required clear areas through snow, landscaping and construction.
Seasonal appliances such as pool heaters and outdoor kitchens also need model-specific shutdown and return-to-service coordination. Confirm who is doing each part of the job and ask whether the line and appliance are ready to use when they finish. Ask what needs to happen when reopening the property, rather than adjusting valves or controls yourself.
Questions we hear
Frequently asked questions
Responsibilities vary. Confirm which TSSA-registered contractor and qualified technicians will perform each regulated scope and how the supplier coordinates the storage and regulator system.
Possibly, but material, condition, route, capacity, pressure context and the new appliance requirements must be assessed and tested before reuse is confirmed.
No. Confirm the route, depth or protection requirements, utility locates, sleeves and inspection sequence first. Premature excavation can be in the wrong location or create conflicts.
Only when the exact manufacturer documentation permits it and specifies an approved conversion kit and procedure completed by qualified personnel.
References
Sources and further reading
Ask about your project
Tell us about the property and equipment
Send the service address, timing, appliance model and safe photos that show the work area.