
Outdoor Living
Outdoor Fire Feature Walls: Materials, Service Access and Layout Ideas
Create an outdoor fire wall that looks good, handles the weather and leaves room to service the fireplace behind it.
Before you plan
Start with the appliance and site details
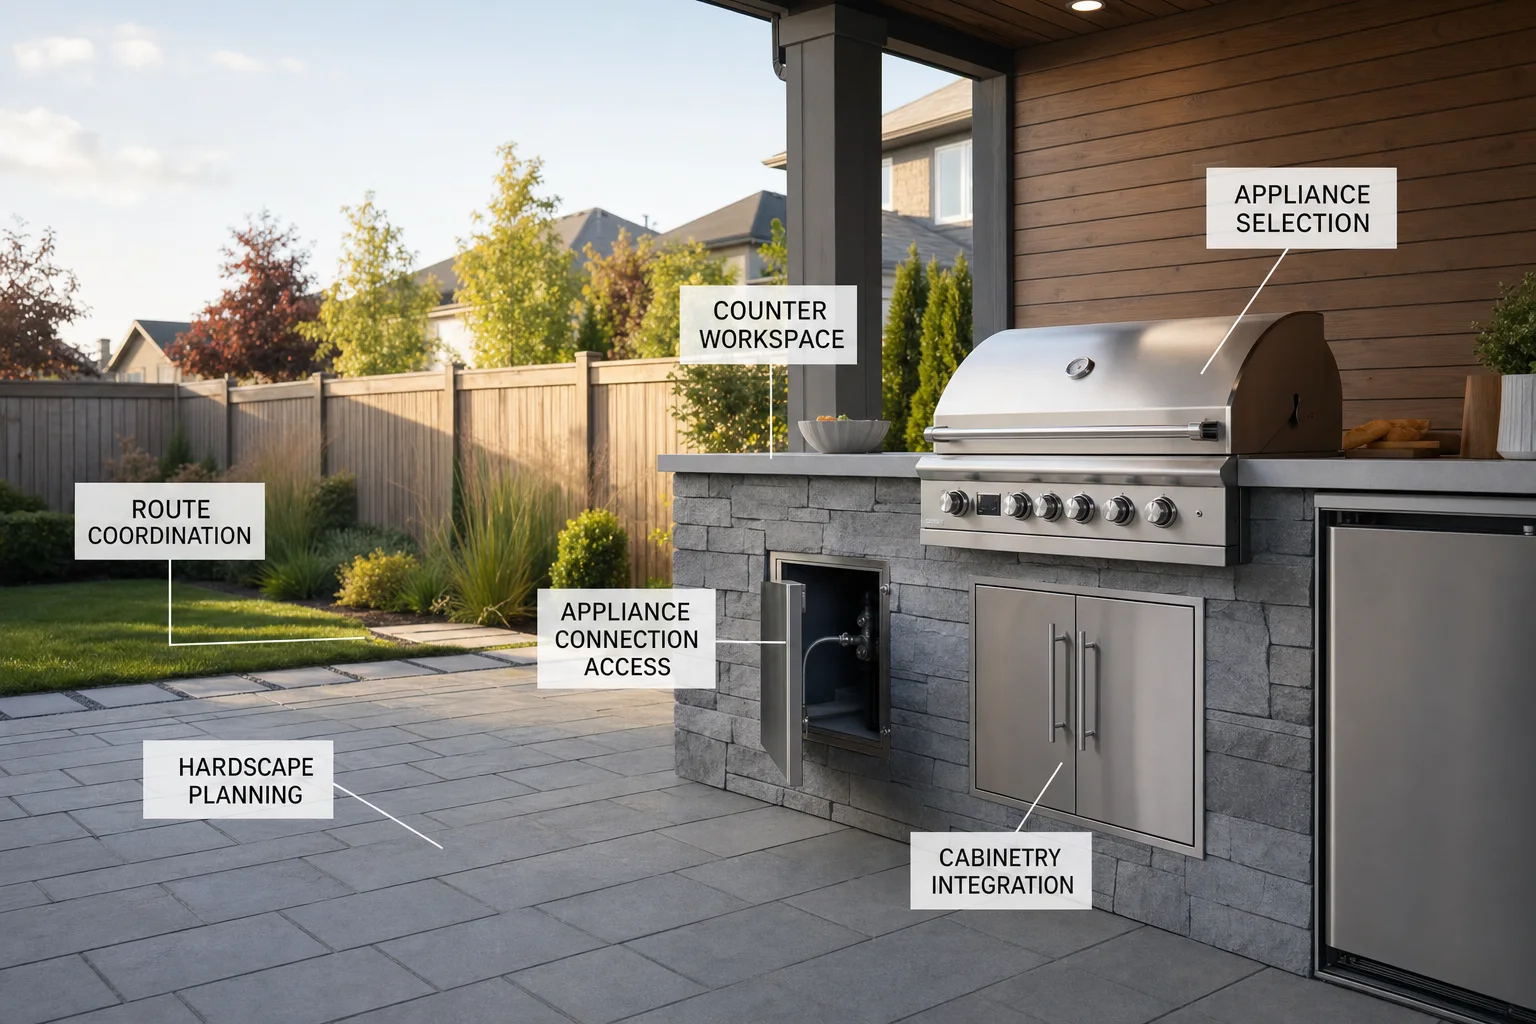
Plan an outdoor fire feature wall from the exact approved outdoor appliance outward. Its manual determines framing, clearances, ventilation, drainage, heat-sensitive material limits and service openings. Then choose weather-ready finishes and a layout that accounts for wind, seating, openings, fuel, controls, electrical needs and snow or rain exposure. Preserve access panels and removal paths before masonry or cladding is installed; a clean finish should never seal the appliance into the wall.
Step
Choose the appliance before drawing the wall
Start with equipment approved for the intended outdoor setting and fuel. Decide whether the wall contains a complete fireplace, an approved linear feature or another listed system. The exact model provides the dimensions, clearances, framing, openings, drainage, electrical and service requirements that shape the architecture. A concept rendering can guide proportions, but it cannot replace those documents.
Review how the wall relates to doors, windows, roofs, fences, property boundaries, furniture and circulation. A wide wall can shelter or redirect wind while also trapping heat or combustion products in ways the appliance does not permit. Include any roof, pergola or future enclosure in the assessment.
- Exact outdoor-approved model and fuel version.
- Full wall elevation with openings and adjacent structures.
- Wind, exposure, drainage and snow-management context.
- Gas, electrical, controls and service-panel locations.
Step
Choose wall materials that work together outdoors
Stone, porcelain, concrete, brick, metal and specialty panels each have substrate, joint, moisture and freeze-thaw requirements. A material that looks noncombustible may still use adhesives, membranes or backing systems with heat limits. Coordinate the appliance manual with the finish manufacturer's instructions and construction professional. Do not assume a showroom sample represents the complete wall assembly.
Plan drips, caps, flashing and drainage so rain and meltwater leave the structure rather than entering the appliance or collecting behind cladding. Keep manufacturer-required ventilation openings unobstructed. Consider staining from water, soot caused by abnormal operation, irrigation and salt or pool exposure when selecting colour and texture.
Step
Use layout to support seating and circulation
A fire wall creates a front-facing outdoor room. Establish the primary viewing distance, seating depth and walkway before fixing the opening height. Check whether chair backs block circulation, whether people cross directly in front of hot glass or flame, and whether tables encourage objects near prohibited areas. Integrate storage only where it does not conflict with heat, ventilation or service access.
Televisions, speakers, lighting, artwork and wood elements require exact heat-management and clearance review. Outdoor exposure adds its own product restrictions. Do not transfer an indoor mantel or television diagram to an outdoor wall or assume an accessory from another model changes the requirements.
Step
Design access before the stone is ordered
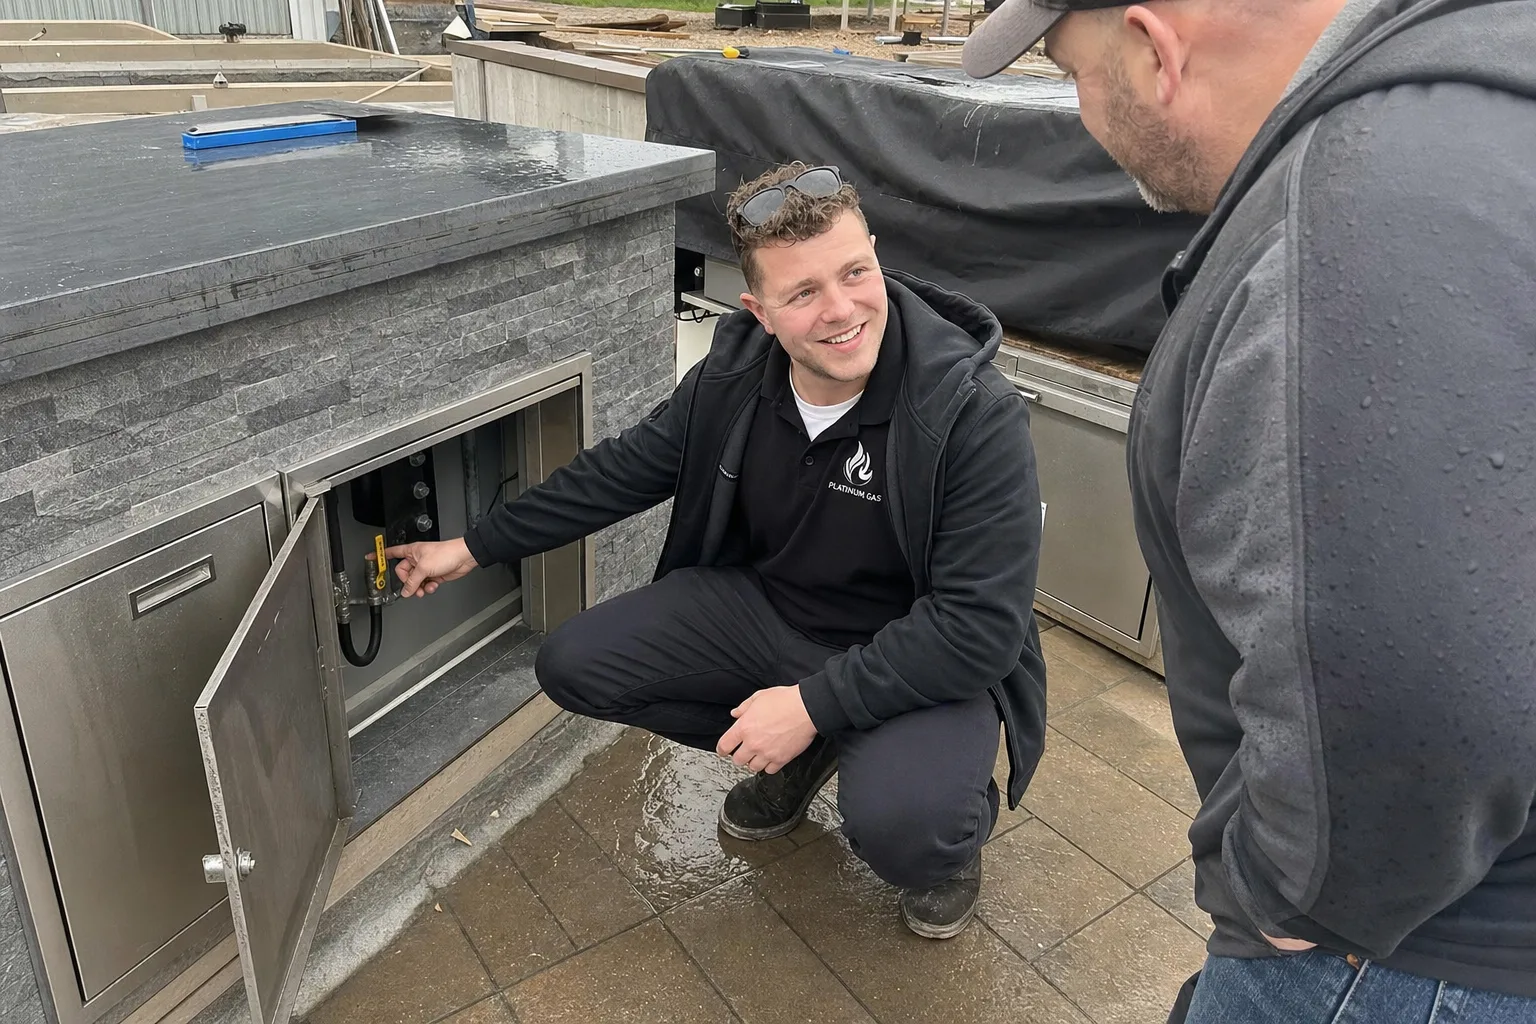
Mark the rating plate, shutoff, control module, ignition components, drain, electrical junctions and every manufacturer-required service panel on the elevation. Confirm how glass, burners or serviceable assemblies are removed. A panel can align with joints or become a deliberate metal detail, but it must remain recognizable and operable after weathering.
Hold a pre-close inspection with the appliance, gas and finish information present. Photograph rough utilities and access routes before cladding. Avoid placing planters, fixed benches or outdoor cabinetry in the technician's working area. Future service should not require demolishing a finished Port Hope feature wall.
What to include with your request
What would you like to install, fix or improve?
Tell us what you need and where the job is. Add the appliance model, fuel type and a photo if you have them.
Step
Plan the build, testing and final walkthrough
Agree who supplies the appliance and handles the base, framing, drainage, gas line, wiring, controls, outer finish, cap, any permits or inspections, and final testing. Give every contractor the same plan and recheck it if the appliance changes. Plan digging and utility work before the patio blocks access, with Ontario One Call and any private line locates arranged before excavation.
At handover, retain manuals, model and serial records, finish-care instructions and photographs of access points. Learn normal operation, approved cover use and seasonal care. Stop use and arrange assessment after flooding, impact, damaged components, unusual odour, soot or persistent operating faults.
Plan the wall's off-season appearance as carefully as its operating state. An approved cover, drainage and snow strategy should work without encouraging storage against the appliance. Landscape lighting and furniture can keep the wall visually useful when the flame is off, but neither should conceal openings or create a barrier to service. Schedule finish inspection and appliance maintenance as separate responsibilities so a cracked joint, blocked drain or changed flame does not fall between trades.
Use a maintenance elevation showing which panels move and which joints are architectural only. Give that drawing to the owner and retain it with rough-in photographs. When future landscape or audio work is proposed, review the drawing before drilling, fastening or placing equipment against the wall.
- One coordinated plan and exact manufacturer documents.
- Pre-close review before cladding conceals the system.
- Documented panels, drainage and utility routes.
- Owner records and weather-care responsibilities retained.
Questions we hear
Frequently asked questions
No. The complete wall assembly must satisfy the exact appliance requirements and the material, substrate, adhesive and exterior-system instructions. Appearance alone does not establish suitability.
A coordinated removable finish may be possible, but the required opening must remain accessible, identifiable and compliant with the appliance and construction design. Confirm it before fabrication.
It can alter local airflow, but may also create turbulence or restricted conditions. Site wind and the exact appliance limits still require assessment; a wall is not a universal wind solution.
The exact appliance and technical plan come first. Construction and installation sequence then follows coordinated manufacturer requirements, trade responsibilities and pre-close reviews.
References
Sources and further reading
Ask about your project
Tell us about the property and equipment
Send the service address, timing, appliance model and safe photos that show the work area.