
Outdoor Living
Outdoor Fireplace Planning: Fuel, Location and Design
Create a backyard gathering spot with a gas fire table, fire pit or outdoor fireplace. Plan the seating, fuel supply and safe location before the patio is finished.
Before you plan
Start with the appliance and site details
Start an outdoor fire-feature project with the experience you want and the real site conditions, not a product photo. Then assess the feature type, approved fuel, location, wind, clearances, seating, gas capacity, drainage, weather exposure, controls, service access, excavation, permits and trade sequence before selecting equipment or finalizing hardscape. The exact Canadian appliance manual must govern installation and use.
Step
Design the gathering experience before choosing the flame
Begin with who will use the area, how many people gather, whether conversation or a strong visual focal point matters most, and when the space is used. A feature viewed from a dining table has a different job from one anchoring lounge seating or creating a sightline from inside. Decide whether people should face the flame, gather around it or see through it. Include accessibility, children, pets, circulation and the route between the house, pool, kitchen and yard. Record desired operating seasons and whether meaningful heat or mainly ambience is expected. These choices shape feature format and placement, while the appliance listing and manual establish what can actually be installed. Bring the preferred layout, appliance shortlist and site measurements together for the assessment.
Step
Compare fire pit, fire table, fire wall and fireplace formats
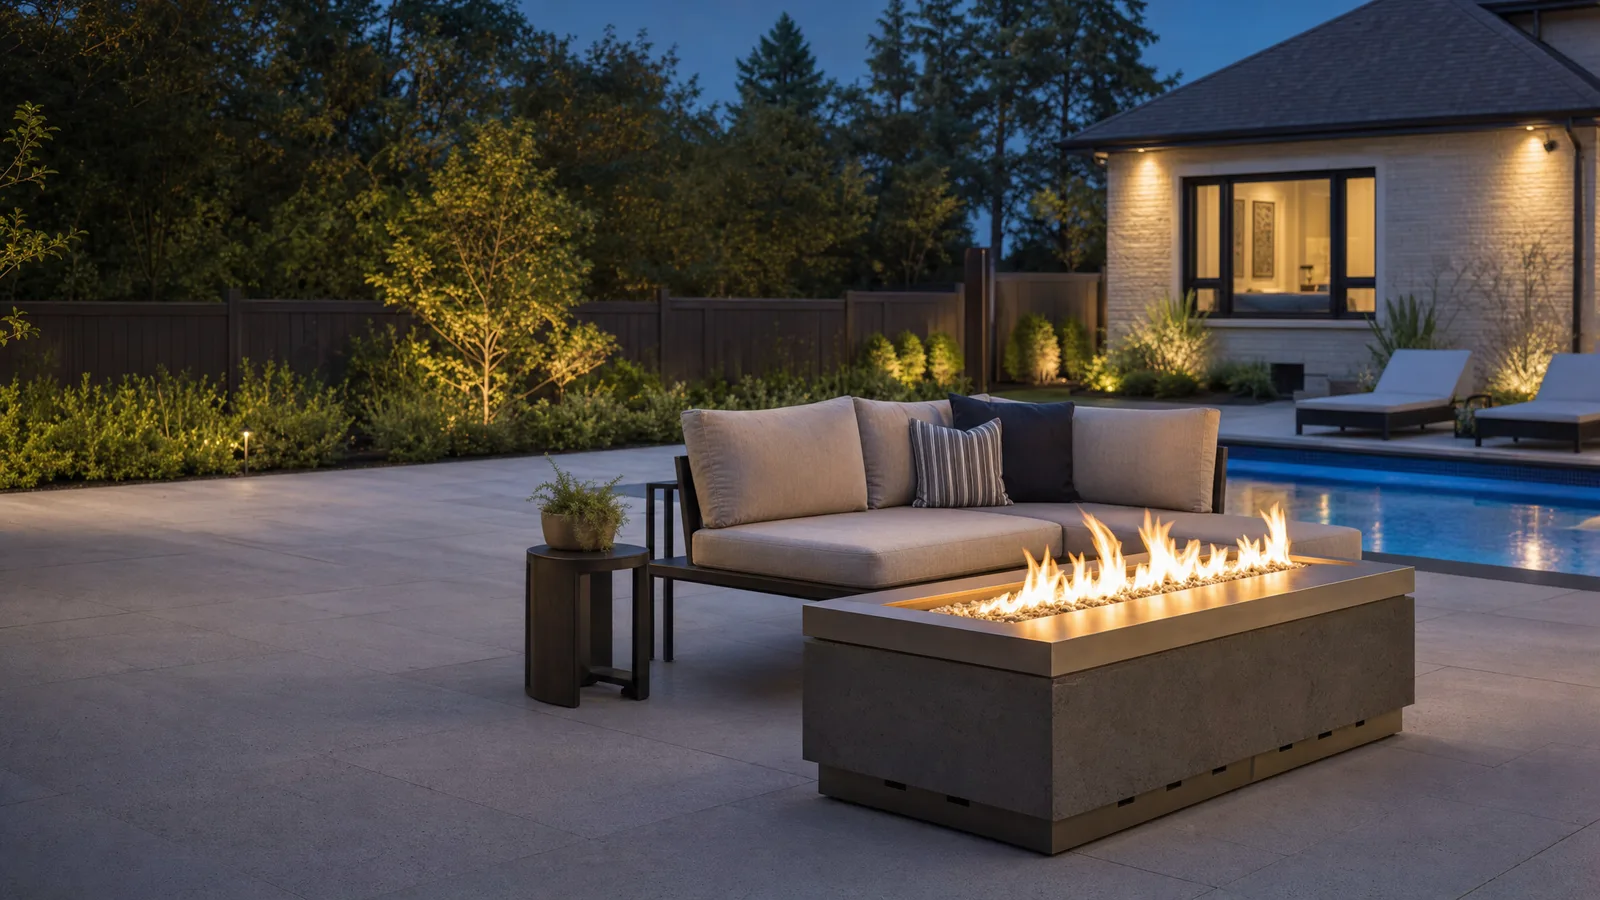
An open fire pit can support circular gathering but puts the flame near traffic and seating. A fire table combines a raised surface and flame, yet usable ledge area and protective cover needs vary. A linear fire wall creates a visual edge and may suit a modern plan. An outdoor fireplace creates a more architectural focal point and can define a room, while requiring coordinated structure and finishes. None is universally best. Compare approved use, physical dimensions, flame enclosure or barrier, controls, service access, media, weather protection and the exact manual. Do not fabricate a burner enclosure from a photograph or assume a component can be installed in any custom surround. Select a listed system intended for the proposed application.
Step
Natural gas and propane change more than convenience
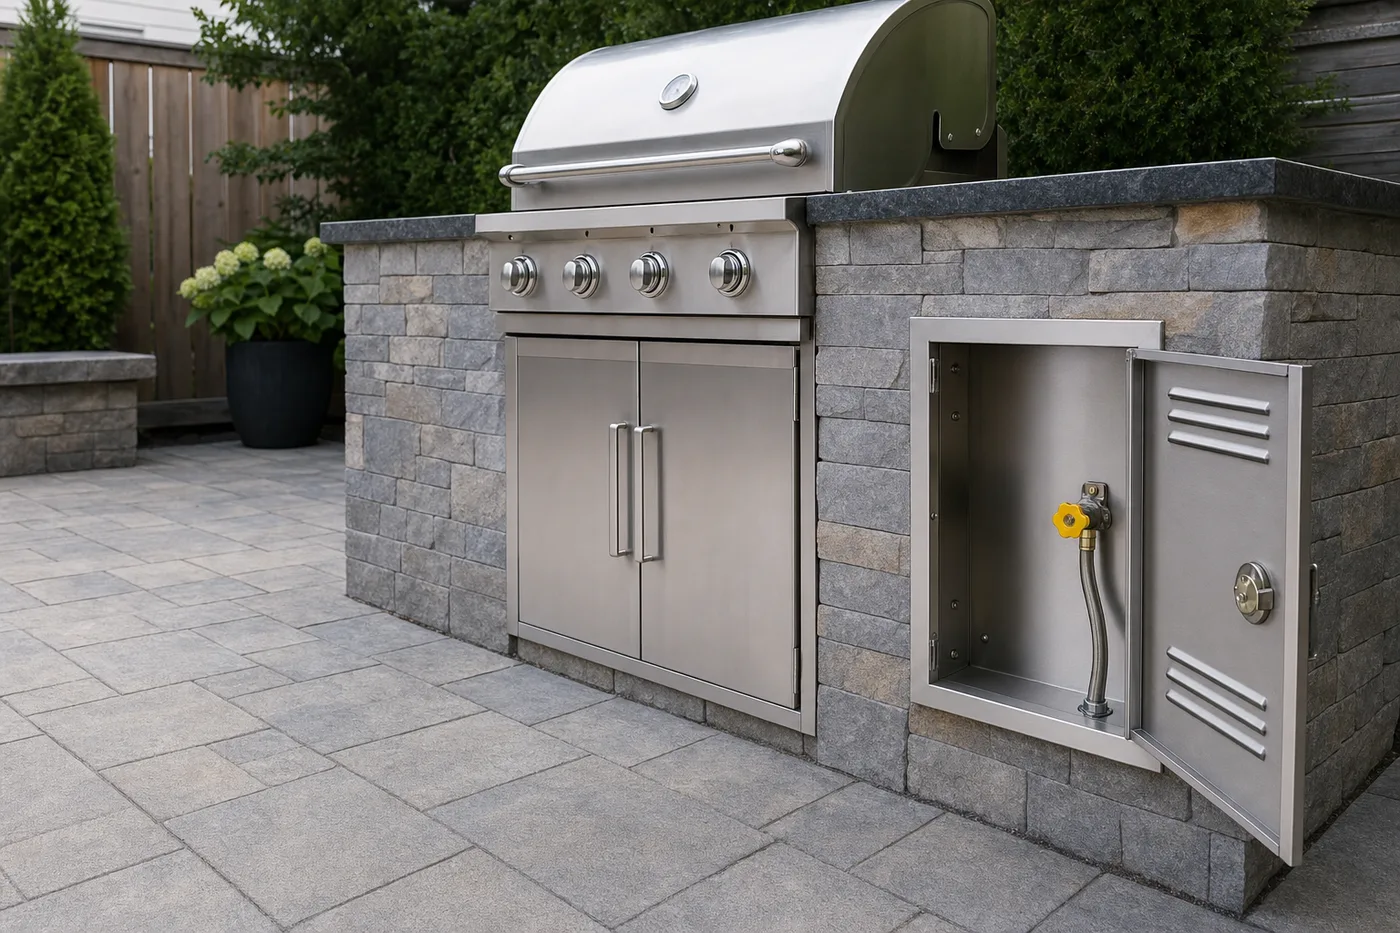
Natural gas may suit a fixed feature where an adequate permanent supply can be planned. Propane may suit properties without natural gas, but storage, regulator, supplier and appliance configuration must be addressed. Fuel types are not interchangeable. The selected Canadian model must be approved and correctly configured for the actual fuel; conversion requires an approved kit and qualified work where permitted. Include all existing and future appliances when gas capacity is assessed. For propane, include the supplier early. For natural gas, utility-side questions may need Enbridge Gas involvement. Concealing a cylinder, regulator or shutoff for appearance cannot take priority over the applicable rules, ventilation, protection and service access.
Step
Read the whole site: wind, walls, roofs and openings
Wind affects comfort and flame appearance, but the solution is not an improvised screen or arbitrarily moving the burner. Observe prevailing wind, gusts around corners and airflow created by fences, retaining walls, buildings and landscaping. Map roofs, pergolas, overhangs, soffits, doors, windows, vents and property boundaries. The selected appliance manual defines whether the unit is for outdoor use, what enclosure or overhead conditions are allowed and what clearances apply. For example, official outdoor-fireplace manuals distinguish outdoor approval and include model-specific location and framing requirements. A design should be checked against the current manual before foundations, walls or gas routes are committed. Recheck if the appliance model changes.
What to include with your request
What would you like to install, fix or improve?
Tell us what you need and where the job is. Add the appliance model, fuel type and a photo if you have them.
Step
Plan seating and circulation around hot surfaces
A visually balanced rendering can still put knees, hands, loose clothing or a walkway too close to a hot surface. Draw actual furniture sizes, chair pull-back, circulation paths and the places children or pets may move. Consider how guests reach seating without passing between a flame and another person. Include mobility devices and the route used for covers or maintenance. Safety barriers or screens supplied or required for a model must remain part of the design rather than disappearing during styling. Do not infer safe furniture spacing from a marketing photo. Combine the appliance instructions, heat exposure, combustible-material limits and whether people can sit comfortably. Test the layout with full-scale furniture outlines before masonry or concrete fixes the arrangement.
Step
Adding a fire feature beside a pool
A fire feature beside a pool can create a strong focal point, but it also adds wet users, splashing, drainage, equipment, fencing and circulation. Map the pool edge, gates, safety equipment, covers, plumbing, bonding or electrical work and maintenance routes. Confirm which professionals review the relationship between the feature and the pool environment. Water exposure does not make every outdoor appliance suitable, and a drainage path should not discharge into a burner enclosure or bury service components.
Step
Choose materials for heat, weather and drainage
Stone, concrete, metal, porcelain, wood-look products and composite decking respond differently to heat, moisture, freeze-thaw cycles and staining. The feature manufacturer identifies permitted framing and finishing conditions, while product suppliers define their own installation limits. Coordinate those documents rather than assuming a noncombustible appearance is enough. Detail how rain leaves the enclosure, where snow accumulates, how a weather cover is used and whether landscaping irrigation reaches the appliance. Avoid cavities that collect water or debris. Do not add glass, rock or decorative media unless it is approved for the exact model and arranged as the manual directs. Leave service panels and ventilation openings functional after finishes are installed.
Step
Plan the gas line, controls and electrical needs together
The appliance input, all other connected loads, fuel, route and supply conditions must be assessed before the gas line is treated as solved. Map the shutoff, control location and service approach without hiding them behind fixed finishes. Some outdoor systems also require electrical supply, ignition power, lighting or automation; any electrical work must suit the outdoor environment and be performed by the appropriate trade. Decide how the feature is intentionally operated and turned off, and keep controls away from casual contact while remaining usable. Never improvise remote controls, bridge safety devices or place indoor electrical components outside. Give the gas and electrical trades the same current appliance manual and construction drawings so their work does not conflict.
Step
Protect access for inspection and future service
A clean design can fail operationally when a gas valve, control module, drain, burner or connection becomes unreachable after stone, cabinetry or decking is installed. Identify every manufacturer-required access panel and removal path before finishes are ordered. Consider whether furniture, planters, seasonal covers or stored cushions will block access. Leave a working route for a technician to reach the appliance without dismantling unrelated construction. Keep the rating plate and manual available. If a custom surround is part of the design, coordinate removable elements with the exact equipment rather than relying on a generic opening. Serviceability protects the owner's ability to inspect, maintain and repair the listed system as a system.
Step
Resolve excavation and locates before hardscape begins
Outdoor gas projects often interact with excavation for foundations, patios, retaining walls, landscaping or a buried route. Ontario One Call requires a locate request before digging and explains that private infrastructure can require a separate private locate. The person performing the excavation is responsible for the request, but the homeowner should confirm that it is complete and that all responses are received before work starts. A public locate may not mark an existing private line to a barbecue, pool heater, shed or fire feature. Identify private electrical, irrigation, septic, pool and lighting services too. Do not move markings or expand the dig area without updating the locate process. Sequence gas routing before final concrete and stone whenever the schedule allows.
Step
Coordinate approvals and trades with one current plan
The appliance, building work and local rules determine which permits or inspections are needed for the gas, electrical and other work. Ask the project lead to identify what applies and who will arrange it. TSSA explains the Ontario fuels-contractor registration framework; verify businesses and do not confuse a business registration with an individual certificate. Give the landscape designer, mason, pool contractor, electrician and gas contractor the same dimensioned plan and appliance documents. Record who supplies equipment, prepares the base, builds the enclosure, provides drainage, installs utilities, completes finishes, tests and commissions the feature. Hold a pre-close review before access is covered. Any model substitution should trigger another manual and layout review.
Step
What affects the cost of an outdoor fire feature?
A responsible budget separates the listed appliance and approved accessories from gas supply, route and utility work; excavation and locates; base or structure; drainage; electrical and controls; masonry or cabinetry; permits or inspections where applicable; restoration; covers; and ongoing maintenance. Site access, finished materials and coordination complexity can matter as much as the visible burner. A low product price does not establish the installed project cost, and a broad online range can hide major exclusions. Ask for a written quote that explains the work included, who handles each part and what could change the price. Confirm whether tax, delivery, equipment startup, finish work and removal of existing materials are included. Do not rely on a project price until the local site and selected equipment have been assessed.
Step
Looking after your outdoor fire feature
Outdoor equipment is exposed, but "outdoor" does not mean maintenance-free or suitable for every exposure. Use only the cover, media and care procedures approved by the manufacturer. Keep drainage and accessible air openings clear, follow seasonal shutdown or startup directions in the owner manual and have gas or electrical concerns assessed rather than opening the appliance. After storms, flooding, impact or construction around the feature, stop use if damage is visible or the manual calls for inspection. Never operate equipment that has been underwater until qualified service has assessed it. Before the installers leave, collect the manuals, model and serial numbers, test results, control instructions, warranty details and contractor contacts.
Step
Bring site photos, measurements and an appliance shortlist
Prepare a scaled site sketch with buildings, boundaries, doors, windows, roofs, fences, pool edges, seating, traffic paths, proposed construction and known services. Add photos from several directions and notes about sun, wind, snow, drainage and desired operating seasons. Include the preferred feature type, actual appliance model if selected, fuel, control preference and existing gas-appliance list. Name the landscape, pool, masonry and electrical contacts and identify the decision deadline before hardscape begins. These details help Platinum Gas plan the gas installation before patios, walls or cabinets cover the route.
- How the space will be used, by whom and in which seasons.
- Feature format, selected model if known, fuel and control preference.
- Wind, structures, openings, seating, pool context and circulation.
- Gas, electrical, excavation, drainage, finishes and service access.
- Who is doing each job, required approvals, important dates and records to keep.
Questions we hear
Frequently asked questions
You can shortlist approved Canadian outdoor models, but avoid committing until fuel, gas capacity, location, wind, clearances, weather exposure, controls, drainage, access and surrounding construction have been reviewed. Changing the model can change the requirements.
Do not assume so. Use equipment approved for the exact intended setting and follow its current manual. Some manufacturers define specific protected-outdoor applications for certain models, while other appliances are outdoor-only or indoor-only. The listing and manufacturer instructions govern.
No. Ontario One Call coordinates responses for participating buried public infrastructure, while private services may require a competent private locator. Existing private gas, pool, irrigation, electrical, septic and lighting infrastructure should be identified before excavation.
Compare feature size, seating, equipment access and the surrounding space. Property dimensions, the selected appliance and site conditions shape the final layout.
Ask about your project
Tell us about the property and equipment
Send the service address, timing, appliance model and safe photos that show the work area.