
Fireplace Guides
Gas Fireplace Installation Timeline: Consultation to Final Walkthrough
See what happens between the first conversation and your first fire, including the choices and other contractors that can affect timing.
Before you plan
Start with the appliance and site details
A gas fireplace installation usually starts with discussing your plans and measuring the space. Next come choosing the fireplace and vent route, agreeing on the quote, ordering equipment and arranging any utility or construction work. The team then installs the fireplace, completes the finishes, tests it and shows you how to use it. A replacement may need fewer steps than a new feature wall or difficult vent route. Product availability, the home, approvals and other contractors all affect the schedule, so agree on the equipment and work before setting a final finish date.
Step
Stage 1: measure the space and talk through the job
The first conversation establishes the goal: new built-in, replacement, insert, conversion assessment or redesign. Share room and exterior photos, rough dimensions, fuel, desired heat, visual style, controls, television or mantel plans and project timing. The site assessment then checks the existing fireplace or wall, fuel-supply context, feasible vent route, electrical needs, clearances, exterior termination conditions and service access.
This stage is where assumptions should be challenged. A nearby gas line may not have proven capacity. A preferred exterior wall may conflict with openings or structures. An inspiration image may use a different appliance and heat-management system. Record these constraints before model selection.
- Room use, heat goal and desired visual composition.
- Existing opening or proposed wall and exterior context.
- Fuel, gas capacity, electrical and control assumptions.
- Venting, clearances, finishes and future service access.
Step
Stage 2: choose the fireplace and finalize the plan
Compare compatible models using current Canadian specifications and manuals. Confirm fuel version, heat-output range, fireplace efficiency information, vent system, controls, fan, media, front, surround or trim, electrical requirements and warranty conditions. The chosen model becomes the technical basis for framing, noncombustible finishes, mantel or television coordination and exterior work.
Give every contractor the same current plan and agree who supplies each part. If the fireplace model changes, its dimensions, venting, clearances and accessories may change too. Have the team check the alternative before ordering it.
Step
Stage 3: prepare and check the work before walls close
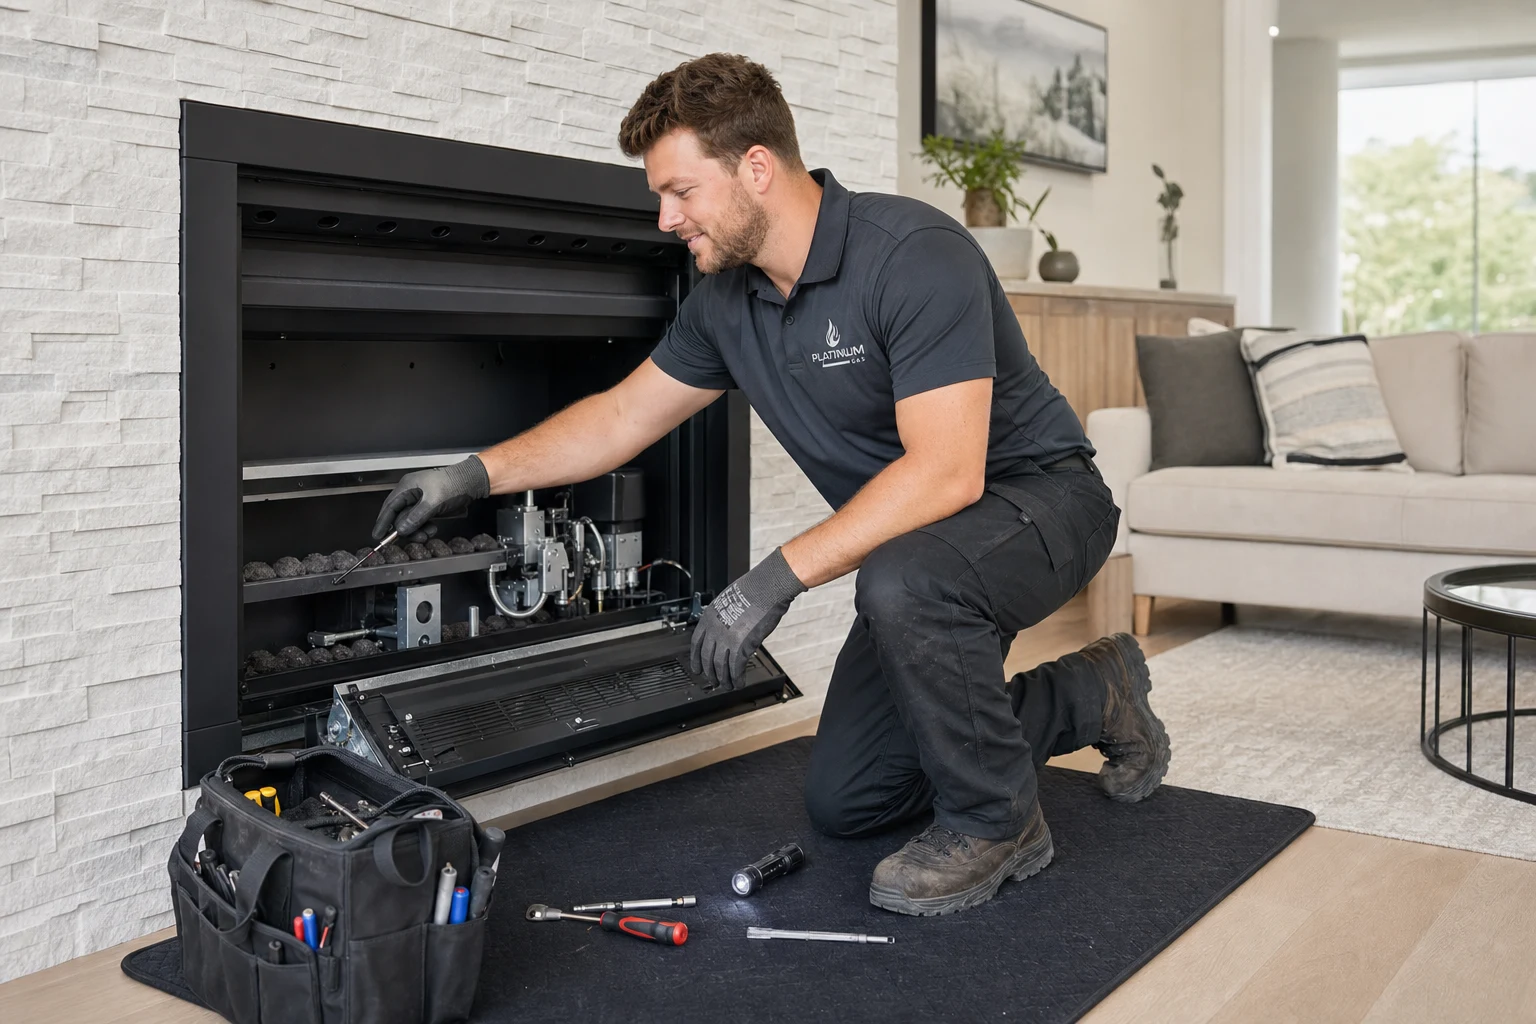
A new installation may need gas lines, wiring, framing, approved noncombustible materials and venting before the finishes go on. An insert needs the opening, approved liner route and surround prepared. If opening a wall or fireplace reveals an unexpected problem, the contractor should explain it and get your approval for any changes before continuing.
Before drywall, stone or cabinetry closes access, review the appliance location, vent components, utilities, clearances, control placement and service panels against the exact manual. Preserve removal paths and the rating plate. A pre-close review is cheaper and safer than discovering that finish work blocks a required panel.
Step
Stage 4: install, finish and test the fireplace
The appliance and approved vent or liner system are installed as specified, and regulated connections are tested. Finish work should proceed only within the model-specific requirements and the agreed construction sequence. Protect the appliance during dusty work and do not let media, glass, barriers or controls become substitutes for construction templates.
Commissioning follows manufacturer instructions and establishes normal ignition, flame, fan, control and shutdown behaviour. Abnormal soot, persistent odour or repeated faults should be resolved before handover. If another trade's incomplete work prevents startup, document who must return and keep the appliance out of service.
What to include with your request
What would you like to install, fix or improve?
Tell us what you need and where the job is. Add the appliance model, fuel type and a photo if you have them.
Step
Stage 5: walkthrough, records and first-season care
The owner walkthrough covers normal controls, heat and fan behaviour, hot-glass protection, approved cleaning, initial curing directions when the manual calls for them, and symptoms that require shutdown or service. Retain the exact manual, model, serial number, warranty material and available commissioning documentation. Photograph the finished service-access locations before furniture is placed.
For a Cobourg request, share the address and target project date early, but treat any schedule as conditional until site fit, equipment and trade availability are known. Avoid booking final masonry or cabinetry from a rough product estimate. A realistic timeline includes review points and contingency for concealed conditions rather than promising one uninterrupted installation day.
Set dates for choosing the fireplace, agreeing on venting, checking framing, choosing finishes, inspecting work before it is covered and testing the finished unit. Decide who can approve changes at each step. If work pauses, protect the appliance and openings as the contractors direct. The job is finished when the fireplace has been successfully tested and any problems resolved, not just when the surround looks complete.
Leave room for the owner to review the controls and finished appearance in normal light. Photograph the completed wall, exterior termination and accessible records. If a punch-list item affects safe operation or required access, keep the appliance out of service until it is corrected rather than treating it as cosmetic.
- Owner controls and normal operating behaviour demonstrated.
- Manual, model, serial and warranty records delivered.
- Cleaning, service and emergency boundaries explained.
- Outstanding work and responsible party documented.
Questions we hear
Frequently asked questions
There is no universal number. Replacement, insert and new feature-wall projects have different equipment, venting, construction and trade needs. Ask for a sequence that lists the work at your home and its dependencies.
After the exact appliance, approved configuration and finish requirements are confirmed. Use current model documents and a coordinated elevation rather than a generic fireplace opening size.
Some rough construction can proceed from approved documents, but the sequence needs explicit coordination and a pre-close review. Do not conceal required access or lock in unverified dimensions.
Product availability, model substitutions, concealed conditions, gas or electrical scope, vent-route conflicts, approvals and other-trade scheduling can all affect timing. Resolve assumptions early.
Ask about your project
Tell us about the property and equipment
Send the service address, timing, appliance model and safe photos that show the work area.