
Fireplace Guides
How to Prepare Your Home for Gas Fireplace Installation Day
Choose the fireplace, confirm the work and clear a path for the installer. Leave gas lines, vents and fireplace components to the technician.
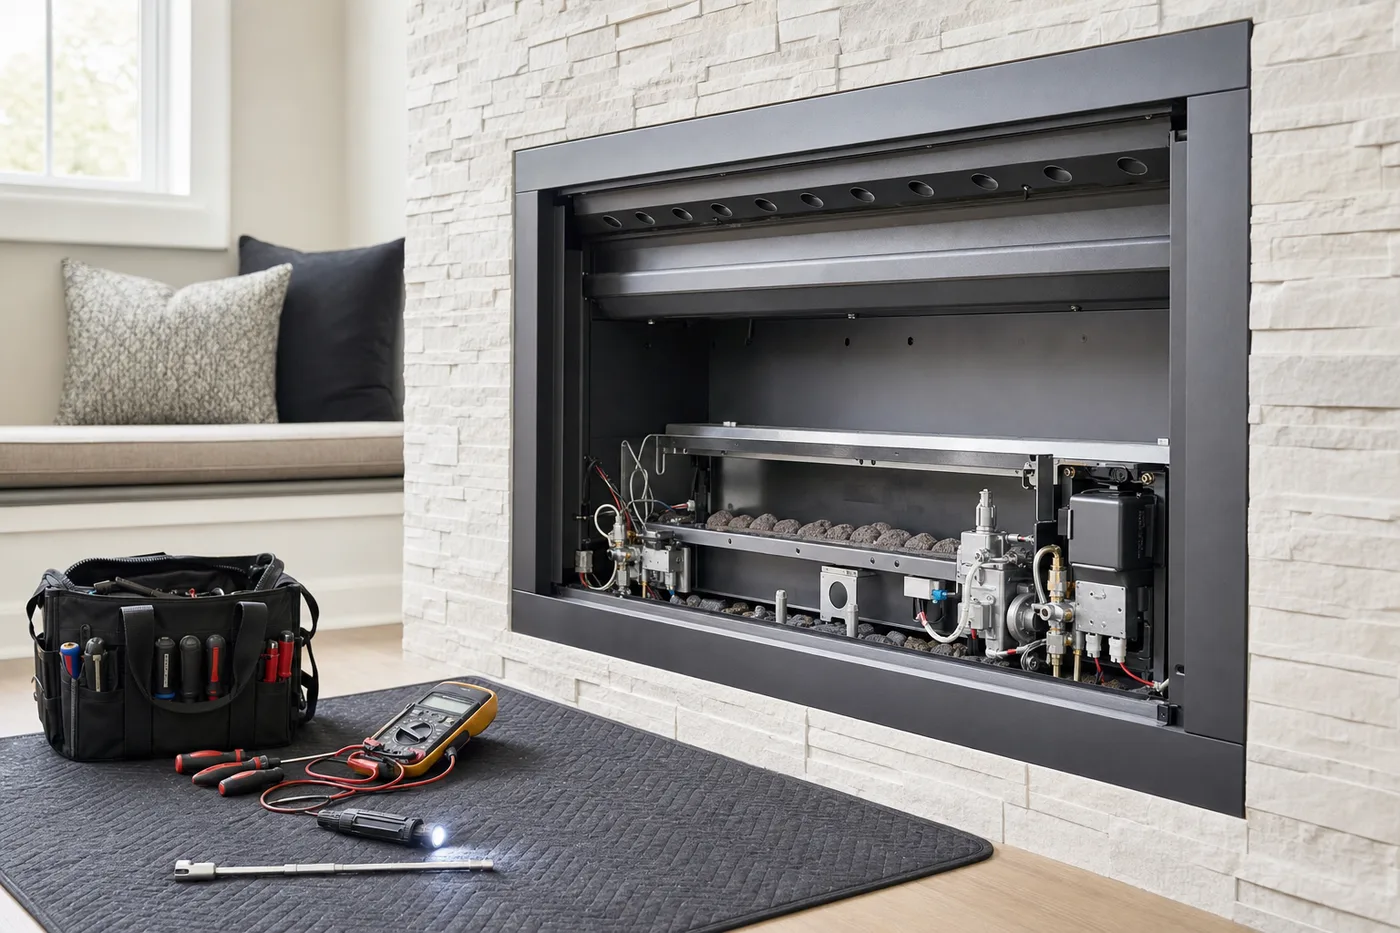
Safe checks
Start with what you can observe
Prepare for a gas fireplace installation by confirming the exact appliance and fuel, checking what your quote includes and who will do the framing, electrical and finishing work, keeping the gas and vent routes accessible, clearing a protected work path, securing children and pets, and having model documents and decisions ready. Do not disconnect an old appliance, alter gas piping, build the enclosure or close the wall unless the installer has confirmed the sequence and exact manufacturer requirements.
Two weeks out: confirm the model and work
Check that the quote matches the fireplace you ordered. Confirm manufacturer, model, fuel, finish and required accessories, along with who is supplying each item. If you have not chosen the fireplace or confirmed the work, ask about your fireplace installation before committing to framing or finishes. Ask whether all current manuals and components are available and whether the installer has received room, exterior and utility photos. If the project depends on a mantel, television, heat-management kit, fan, remote or surround, make sure those choices are reflected in the plan rather than left for installation morning.
Walk through responsibilities with every trade. Identify who removes the old unit, completes framing, provides electrical work, prepares non-combustible construction, installs finish materials, restores walls and disposes of debris. Confirm the point at which the gas technician needs access and the point at which finish work may proceed. This is especially important for multi-trade fireplace walls where a small sequencing mistake can block the vent route or service area.
- Match the model, fuel, finish and accessories to the quote.
- Confirm delivery, storage and inspection of the appliance.
- Assign framing, electrical, finishing, removal and restoration.
- Keep required manuals, drawings and contact details together.
- Report schedule or site-condition changes before the visit.
Before walls are closed: keep the route accessible
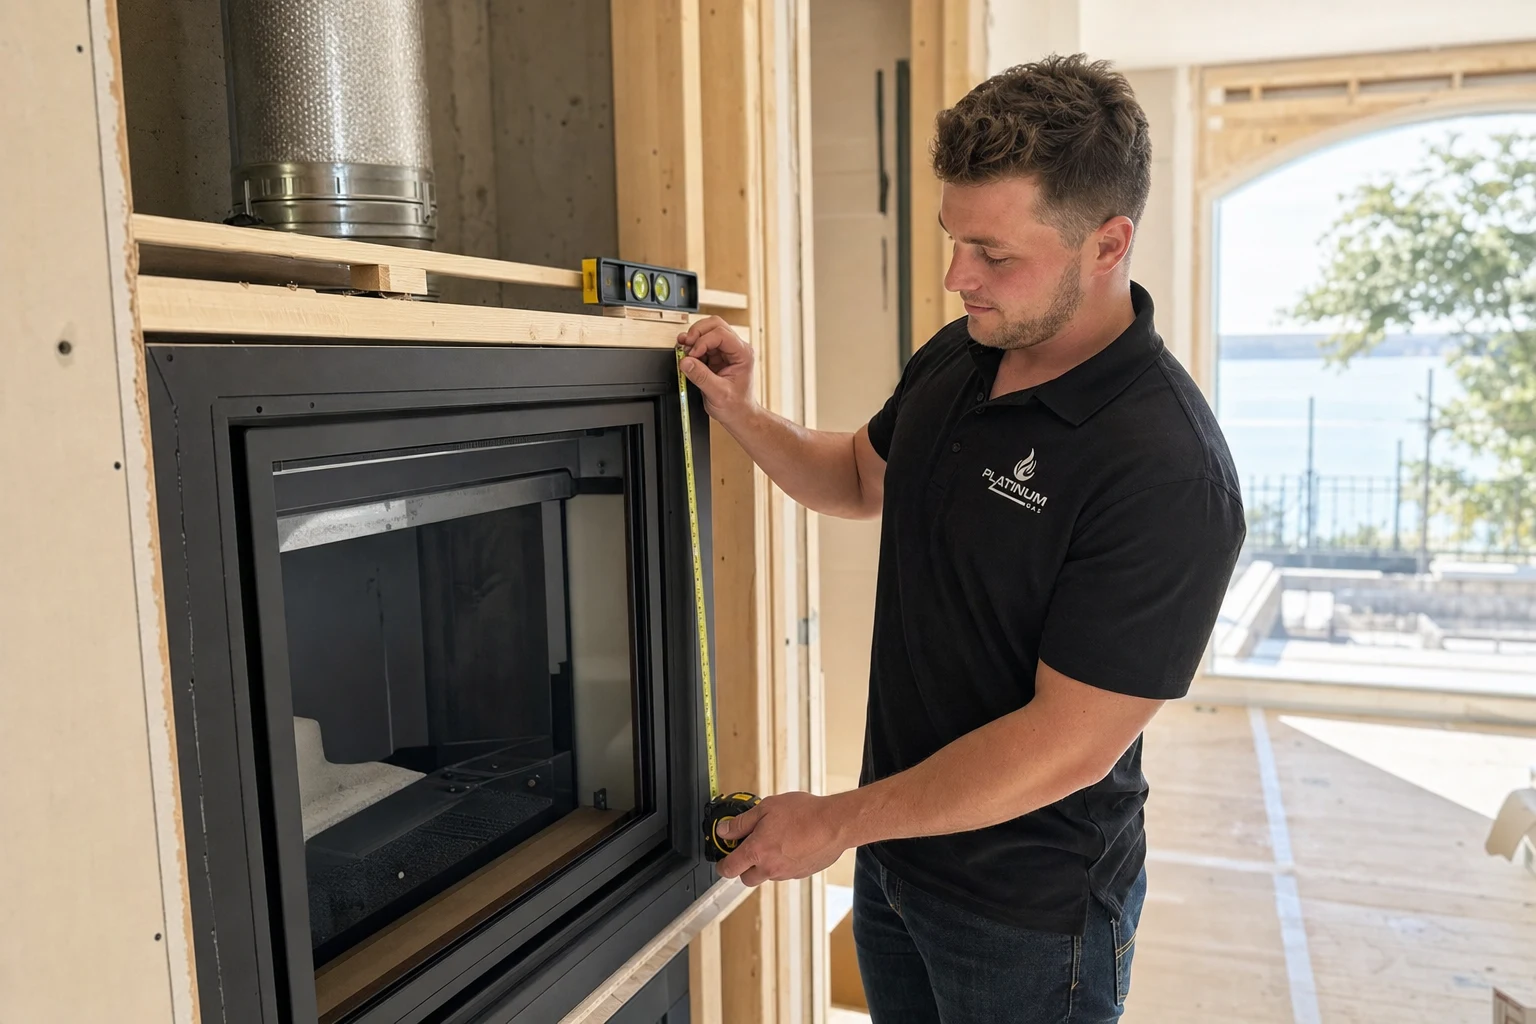
Gas, venting and electrical routes can pass through areas another trade is eager to close. Do not cover the planned path until the responsible installer has verified what must remain open. Photograph framing and accessible services for the project record, but do not treat photographs as a substitute for inspection. If field conditions differ from drawings, pause and coordinate rather than notching, relocating or sealing around components.
Exterior termination planning deserves the same attention. Doors, windows, grade, decks, soffits, vegetation, snow conditions and neighbouring structures may affect the approved location for the exact appliance. Keep the relevant exterior area reachable and tell the installer about planned decks, additions or landscaping. A route that appears clear today can become unsuitable if another project changes the surrounding conditions.
The day before: clear access and protect the home
Clear furniture, artwork and portable objects from the work zone and travel path. The required distance depends on the project, so follow the installer’s request rather than moving only what seems convenient. Protect delicate floors and identify surfaces that require special care. Empty nearby cabinets if access may be needed. Arrange parking and entry, share building or condominium procedures, and confirm that an adult decision-maker can be reached.
Keep children and pets in a separate secure area. Plan for normal construction noise and temporary interruption of the room. Identify the electrical panel and accessible utility spaces without opening equipment. If the old fireplace is still operating normally, leave it as instructed; do not attempt to cool, disconnect or dismantle it beyond any ordinary operating direction the installer specifically gives.
Before you request installation
Tell us about your installation plans
Tell us what you'd like installed, where it will go and your ideal timing. Add a model or photo if you have one. Leave gas connections and venting to a qualified installer.
Keep these decisions and documents ready
Have the current appliance manual, order details, finish schedule, approved elevation and trade contacts available. Confirm the location of the control, remote holder, electrical receptacle or switch where relevant. Decide who approves minor visual choices on site, but do not authorize a technical deviation from the manual for appearance. Any material or dimensional change should be reviewed by the appropriate contractor before work proceeds.
For a replacement, preserve the old model and serial information if it can be read safely; it may help identify previous conditions. For an insert, keep opening and surround decisions available. For a new feature wall, mark television and mantel dimensions on the elevation. Having these details ready helps the installer check the plan and sort out any unexpected problems.
- Appliance manual and exact order confirmation.
- Written quote, inclusions, exclusions and change approvals.
- Approved room elevation and finish selections.
- Contacts for the electrician, framer and finish contractor.
- Condominium, parking or access requirements when applicable.
Know what not to prepare yourself
Do not remove caps, disconnect or move a gas appliance, modify a shutoff, test a line, join vent components, cut structural or fireplace parts, reposition media, remove sealed glass, or build from dimensions copied from another model. Do not purchase generic vent parts or a conversion kit because the name looks compatible. These actions can create a hazard and can also make it harder to assess the original conditions.
Do not close framing or install the final surround simply to make the room look finished before the gas visit. Service access, removable trim, safety barriers and rating plates must remain usable. If a question arises, photograph the condition from a safe distance and send it to the project contact. Waiting for a clear answer is better preparation than making an irreversible assumption.
Before the installer leaves: take the walkthrough
Ask for an operating demonstration that covers the normal controls, shutdown behaviour, fan or lighting functions, safety barrier and any power-outage limitations for the exact model. Learn which owner observations are useful and which symptoms mean the appliance should remain off pending service. Confirm when finish trades may return and which components they must not cover, seal or alter.
Retain the model, serial number, manual, invoice, warranty information and documents provided for the installation. Photograph the completed rating information and accessible controls only where permitted. Review routine care in the manufacturer’s owner instructions rather than relying on general internet advice. For a Bowmanville or Newcastle project, keep these details together so you and any future service technician can see what was installed.
Questions we hear
Frequently asked questions
No, unless the regulated removal is explicitly included with another qualified contractor and the sequence is confirmed. Existing gas, vent and appliance conditions may need to be assessed before removal.
Only from the exact current manual and a coordinated plan approved for the selected appliance. Generic framing dimensions or another model’s drawing are not reliable.
Ask the installer because access varies by replacement, insert, vent route and new construction. Clear the requested work and travel zones, plus nearby delicate objects.
Keep packaging and documents, photograph the condition, and contact the supplier and installer before installation. Do not attempt to straighten, repair or substitute damaged components.
References
Sources and further reading
Ask about your project
Tell us about the property and equipment
Send the service address, timing, appliance model and safe photos that show the work area.